Creating AOI
Define a boundary on the map by drawing an Area of Interest (AOI)
To create a new AOI, do the following:
-
Login to the platform.
-
Click the Data module, and then click the AOI Manager sub-module.
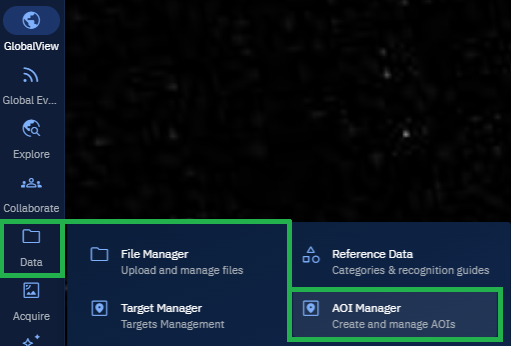
The AOI Manager page is displayed.
-
In the AOI Manager panel, click the +New button to start creating a new AOI.
The Create New AOI panel is displayed.
-
In the Create New AOI panel, do the following:
- Type AOI name in the AOI Name field.
- Type a new tag or select an existing tag in the Tags field.
- Draw an AOI with square, polygon, or point tool or upload a geojson file, or copy-paste a WKT coordinate in the Draw an Area of Interest section.
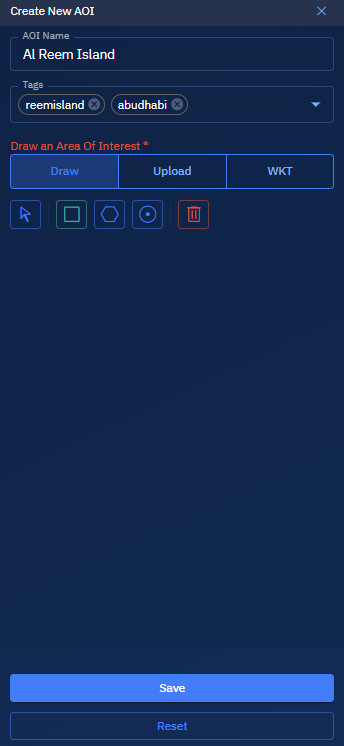
- Click the Save button to to create and store your new AOI.
What are the best practices for creating AOIs?
- Choose clear, descriptive names that help you and your team identify the AOI quickly.
- Draw precise boundaries to avoid ambiguity.
- Keep AOIs as focused as possible for efficient analysis and reporting.